
DIY Solar System Model: Step-by-Step Guide for a School Project
Are you looking for a fun and educational project to do for your school assignment? Why not try building a DIY solar system model? Not only will this project help you learn more about our solar system, but it will also impress your classmates and teachers. Follow this step-by-step guide to create your very own solar system model.
Materials Needed
Before you begin, make sure you have the following materials:
- Styrofoam balls in various sizes
- Paint in the colors of the planets
- Paintbrushes
- Toothpicks
- Styrofoam or wooden skewers
- Glue
- Black paper or cardboard
- Scissors
- String
Step 1: Research and Planning
When starting your DIY solar system model project, the first step is research and planning. Begin by gathering information about the different planets in our solar system, their sizes, distances from the sun, and unique characteristics. This research will help you accurately portray each planet in your model.
Consider creating a plan or sketch of how you want to arrange the planets in your model, taking into account the relative sizes and distances between them. This planning stage is crucial for ensuring that your solar system model is both educational and visually appealing. By conducting thorough research and creating a detailed plan, you will set yourself up for success as you move on to the next steps of building your solar system model.
Step 2: Gathering Materials
After completing your research and planning, the next step in building your DIY solar system model is gathering the necessary materials. Make a list of all the materials you will need, including styrofoam balls in various sizes, paint in the colors of the planets, paintbrushes, toothpicks, styrofoam or wooden skewers, glue, black paper or cardboard, scissors, and string. Double-check your list to ensure you have everything you need before starting the project. Having all the materials on hand will make the construction process smoother and more efficient.
Step 3: Building the Sun
Once you have gathered all the materials, it’s time to start building the sun, the central figure in your solar system model. Begin by selecting a large styrofoam ball to represent the sun. Use yellow or orange paint to color the styrofoam ball, mimicking the bright and vibrant hues of the sun. Paint the entire surface of the ball evenly, making sure to cover any visible white spots. Allow the paint to dry completely before moving on to the next step.
Creating a realistic and visually appealing sun is essential for setting the tone of your solar system model. The sun serves as the focal point around which all the planets revolve, so take your time to ensure it is accurately represented in terms of size and color. Once the sun is complete, you can move on to the next steps of creating the planets and assembling your solar system model.
Step 4: Creating the Planets
With the sun completed, it’s time to focus on creating the planets for your DIY solar system model. Using styrofoam balls in various sizes, begin by selecting the appropriate size for each planet based on your research. Paint each styrofoam ball in the colors that correspond to the different planets in our solar system. For example, paint Mercury a dark gray, Venus a light yellowish-orange, Earth a light blue with green accents, Mars a reddish-orange, and so on.
Take your time with this step to ensure accuracy and attention to detail. Consider adding any unique features or characteristics that distinguish each planet, such as the rings of Saturn or the red spot on Jupiter. Once all the planets are painted and dry, you can move on to the next step of adding moons and asteroids to your model. Pay close attention to the size and placement of each planet to accurately represent the scale of our solar system in your model.
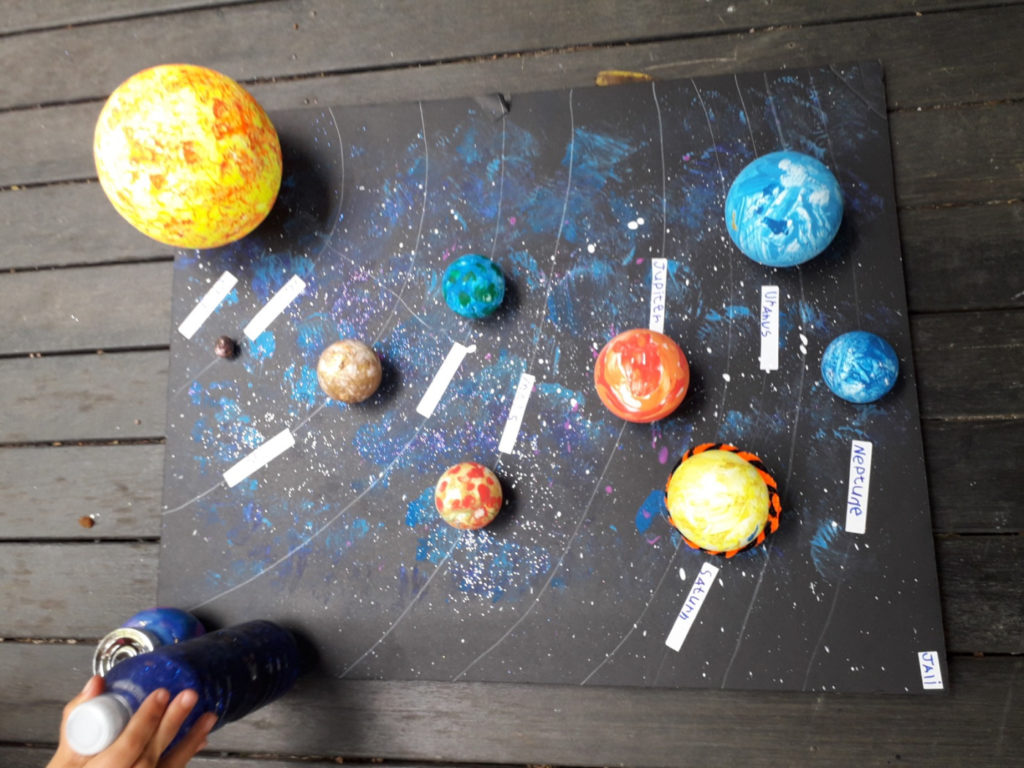
Step 5: Adding Moons and Asteroids
After creating the planets for your DIY solar system model, the next step is to add moons and asteroids to enhance the realism of your representation. Research the moons of the different planets in our solar system and select the appropriate sizes for each moon based on their relative sizes in comparison to their respective planets.
Using smaller styrofoam balls or beads, paint them to represent the moons of each planet. For example, you can paint a small white ball to represent Earth’s moon, or a dark gray ball for Mars’ moon, Phobos. Consider using toothpicks or skewers to attach the moons to their respective planets, positioning them at the correct distances and angles to accurately portray their orbits.
In addition to moons, you can also add asteroids and other celestial bodies to your solar system model. Small beads or painted pebbles can be used to represent asteroids, comets, or dwarf planets like Pluto. Place these smaller objects strategically throughout your model to create a dynamic and engaging representation of our solar system. Pay attention to detail and accuracy to ensure your DIY solar system model is both educational and visually appealing.
Step 6: Assembling the Solar System
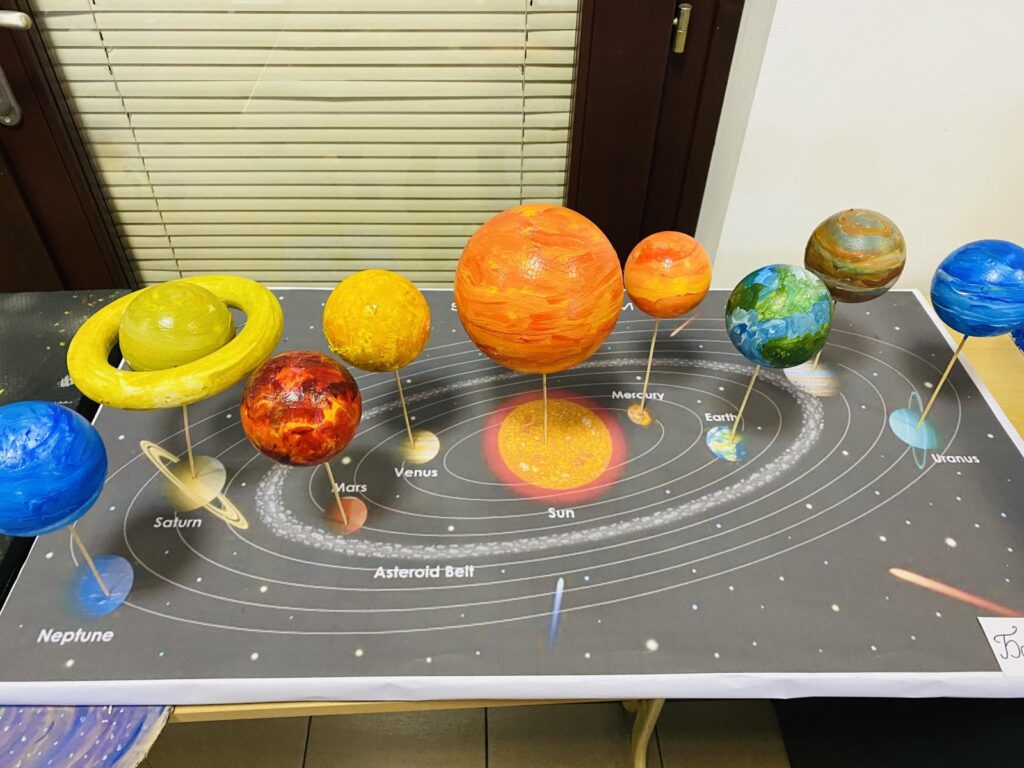
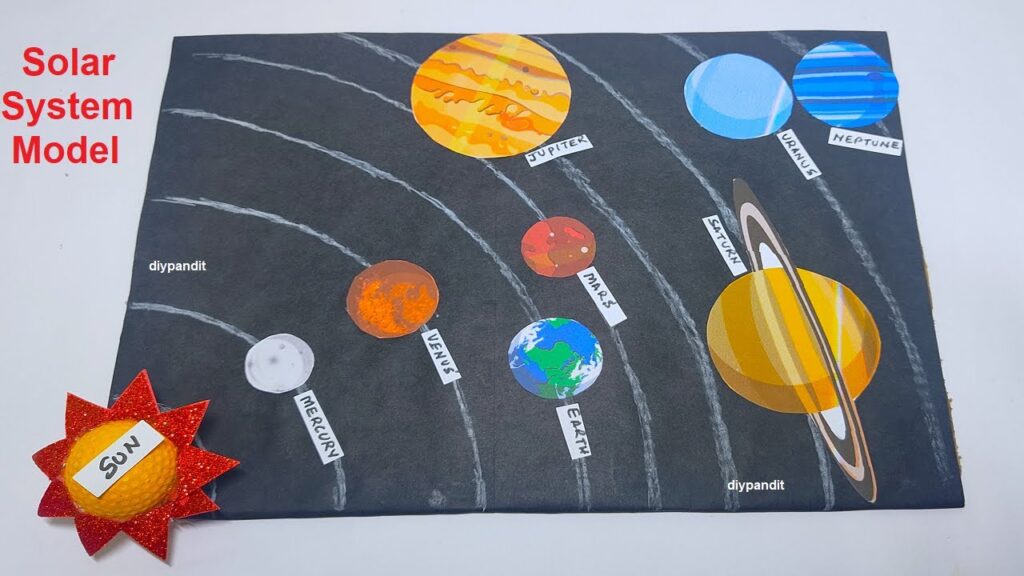
Now that you have created the sun, planets, moons, and asteroids for your DIY solar system model, it’s time to assemble everything into a cohesive representation of our solar system. Begin by arranging the planets in order from the sun, following the correct sequence of Mercury, Venus, Earth, Mars, Jupiter, Saturn, Uranus, and Neptune. Position the planets at varying distances from the sun to reflect their actual orbits in space.
Use string or wire to create orbits for each planet, attaching them to the sun and positioning the planets along their designated paths. Ensure that the planets are spaced out proportionally and accurately based on their relative sizes and distances from the sun. Add the moons and asteroids, positioning them around their respective planets to create a realistic and dynamic solar system model.
Take your time with this final step to ensure that everything is securely attached and visually appealing. Double-check the positioning of each planet and moon to accurately represent the layout of our solar system. Once everything is securely in place, step back and admire your completed DIY solar system model, ready to educate and inspire others about the wonders of our cosmic neighborhood.
Step 7: Adding Details and Finishing Touches
For the final step in creating your DIY solar system model, you can add additional details and finishing touches to enhance the overall presentation and realism of your project. Consider incorporating the following ideas to make your solar system model even more engaging:
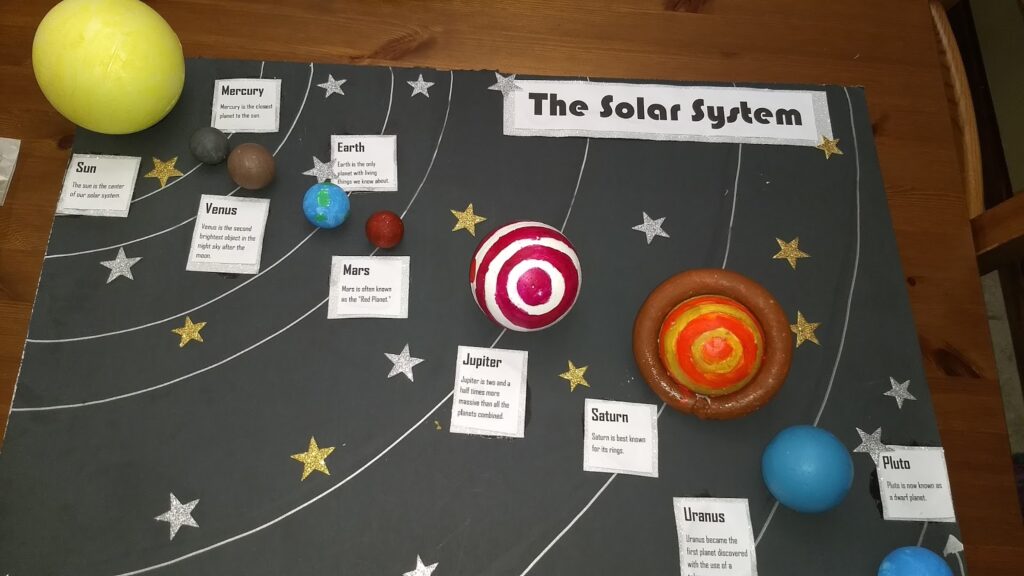
- Label each planet with its name using small printed or handwritten labels. This will help viewers easily identify each planet in the model.
- Use glow-in-the-dark paint to make the planets and moons appear illuminated when the lights are turned off. This can create a captivating and educational display.
- Add a backdrop or display base for your solar system model, such as a painted poster board or wooden platform. This will provide a stable and attractive setting for your model.
- Include informational cards or a key detailing facts about each planet, moon, and asteroid in your solar system model. This can further educate viewers about the unique characteristics of each celestial body.
- Consider incorporating LED lights or battery-operated twinkle lights to simulate stars or create a magical effect around your solar system model.
- Display your completed solar system model in a prominent location, such as a bookshelf, desk, or classroom, where it can be admired and appreciated by others.
By adding these details and finishing touches, you can elevate your DIY solar system model to a visually striking and informative representation of our cosmic neighborhood. Enjoy the process of creating and showcasing your project, and inspire others to learn more about the wonders of our solar system.
Step 8: Displaying Your Solar System Model
After completing all the steps to create your DIY solar system model, it’s time to display your masterpiece for others to admire and enjoy. Here are some tips on how to effectively showcase your solar system model:
- Choose a Prominent Location: Select a visible and easily accessible location to display your solar system model. This could be a shelf, a bookcase, a desk, or a dedicated display area in your home or classroom.
- Use a Display Stand: If your solar system model is large or heavy, consider using a display stand to elevate and support it. This can help make your model more visible and prevent any damage or accidents.
- Accessorize the Display: Enhance the presentation of your solar system model by adding decorative elements around it. Consider placing space-themed decorations, posters, or educational materials nearby to further highlight the theme.
- Proper Lighting: Ensure that your solar system model is well-lit to highlight its details and make it more visually appealing. Natural light or strategically placed lamps can help showcase your model effectively.
- Rotate and Interact: Encourage viewers to interact with your solar system model by allowing them to rotate it or examine it up close. This can enhance their learning experience and appreciation of the project.
- Educational Resources: Provide supplementary educational resources, such as books, articles, or videos about the solar system, to accompany your model and offer additional insights and information.
- Share and Inspire: Share your solar system model with friends, family, classmates, or colleagues to inspire curiosity and interest in astronomy and space exploration. Consider hosting a showcase or presentation to explain the features of your model and engage others in learning about the solar system.
Step 9: Presenting Your Project to the Class
If you are planning to present your DIY solar system model to your class, it’s important to prepare a thoughtful and engaging presentation to showcase your hard work and knowledge about the solar system. Here are some tips on how to deliver an effective presentation:
- Introduction: Start your presentation by introducing yourself and providing an overview of what you will be discussing. Explain that you have created a solar system model and share a brief background on the solar system.
- Demonstrate Your Model: Display your solar system model and explain the various components, such as the sun, planets, moons, and asteroids. Point out key features of each celestial body and how they are interconnected in our solar system.
- Educational Information: Share interesting facts and details about each planet, moon, and asteroid in your model. Discuss their size, composition, orbit, and any unique characteristics that make them stand out.
- Interactive Elements: Incorporate interactive elements into your presentation, such as allowing classmates to ask questions, touch the model, or participate in a quiz about the solar system. This can make the presentation more engaging and informative.
- Visual Aids: Use visual aids, such as posters, diagrams, or videos, to supplement your presentation and provide additional information about the solar system. Visual aids can help convey complex concepts in a more digestible and memorable way.
- Engage Your Audience: Encourage classmates to participate by asking questions, sharing their thoughts, or offering insights about the solar system. Consider conducting a group discussion or activity related to the topic.
- Conclusion: Summarize the key points of your presentation and reinforce the importance of understanding the solar system. Thank your classmates for their attention and participation.
- Q&A Session: Open the floor for a question-and-answer session to address any queries or feedback from your classmates. Be prepared to answer questions about your project and the solar system in general.
Conclusion
Creating a DIY solar system model can be a fun and educational experience that allows you to learn more about the planets, moons, and asteroids in our cosmic neighborhood. By following the steps outlined in this guide, you can design and build a captivating representation of the solar system that showcases your creativity and knowledge.
Remember to personalize your solar system model with unique touches, interesting facts, and interactive elements to make it stand out and captivate your audience. By sharing your project with others, you can spark interest in astronomy, foster a deeper appreciation for the solar system, and ignite a sense of wonder about the vast universe we inhabit.
FAQs
What materials do I need to make a DIY solar system model?
Materials needed for a solar system model may include foam balls, paint, paintbrushes, wire, string, and decorative elements like glitter or glow-in-the-dark paint.
How long does it take to create a solar system model?
The time required to create a solar system model can vary depending on the complexity of the design and the level of detail you want to include. It may take a few hours to a few days to complete the entire project.
Can I make a solar system model with recycled materials?
Yes, you can use recycled materials like paper mache, cardboard, or old CDs to create a solar system model. Get creative with the materials you have on hand to make a unique and environmentally friendly project.
How can I make my solar system model more interactive for presentations?
You can make your solar system model more interactive by incorporating elements like LED lights, rotating components, or an educational quiz about the solar system. Engage your audience with hands-on activities or interactive discussions.
What are some additional resources for learning about the solar system?
There are plenty of online resources, books, documentaries, and educational websites that can provide in-depth information about the solar system. Consider exploring NASA’s website, astronomy magazines, or local planetariums for more educational materials.
Also Read:


